If you’ve been dreaming of transforming your bathroom from basic to beautiful, now’s the time. Remodeling your primary bath can feel overwhelming at first, but don’t worry - I’ll walk you through the process step by step. Whether you’re dreaming of spa vibes, a clean modern refresh, or something classic and timeless, a remodel starts with a plan. Here’s how we get there—step by step.
Fixtures First
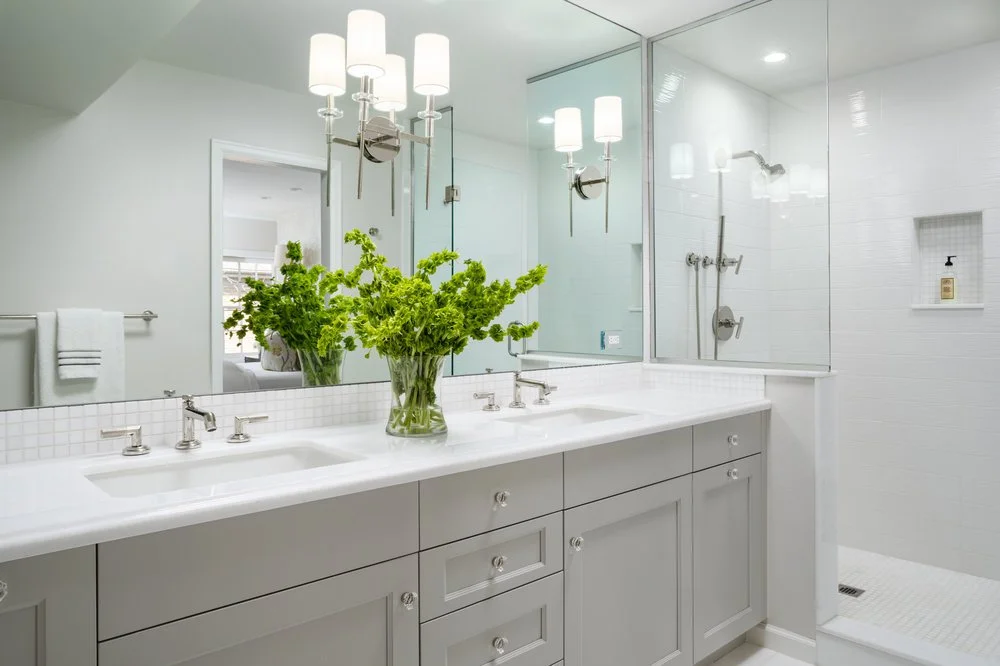
Our journey begins with a trip to Dahl Plumbing, where you’ll see just how many finishes are available: chrome, polished chrome, nickel, brushed nickel, black, gold, stainless. To keep things cohesive, I recommend choosing your tub, shower, and faucet fixtures from the same manufacturer. Brands like Kohler, Delta, Brizio and Moen offer gorgeous collections that make it easy to achieve a unified look.
Tip: Once fixtures are chosen, we’ll also select cabinet hardware to compliment them.
Cabinet Style Decisions
Next up: Cabinetry. Whether you love the clean, modern look of flat-panel doors or the timeless charm of shaker style, your cabinet selection sets the tone for the entire space.
Tile & Counter Design
Here’s where creativity shines. Do you want something clean and classic like 2 x 6 subway tiles, or a bolder look with mosaics?
Budget friendly classics: 2x6, 6x6, or 12 x 12
Splurge worthy mosaics: these can run $100 per foot but they will steal the show.
We’ll also pick a counter top slab that ties the whole design together. And for the backsplash? Use the same slab for a seamless look, or carry your wall tile up behind the sink for extra points.
Field Trip: Material Marketing or Dahl Tile -you’ll want to see these in person
Lighting: Set the Mood
Great lighting isn’t just practical - it’s transformative.Think can lighting for that overall brightness, plus vanity lighting for that perfect mirror glow.
Check out Urban Lights where brands like Hinkley and Hudson Valley offer gorgeous sconces and vanity bars (2,3, or 4-light options, depending on your space)
The Plan Comes Together
Once the selections are made, I draw out the design. The tile installer will review measurements, calculate quantities, and put together a full bid that includes installation and tear-out. This is where your vision starts becoming a real plan.
Trust Your Pros
The last step may not be glamorous, but it’s the most important: hiring the right plumber and electrician. A skilled plumber means no surprise leaks later (nobody wants that). A reliable electrician means your beautiful lighting actually works the way it should.